Contact Preamp & Mic
Workshop | 2025
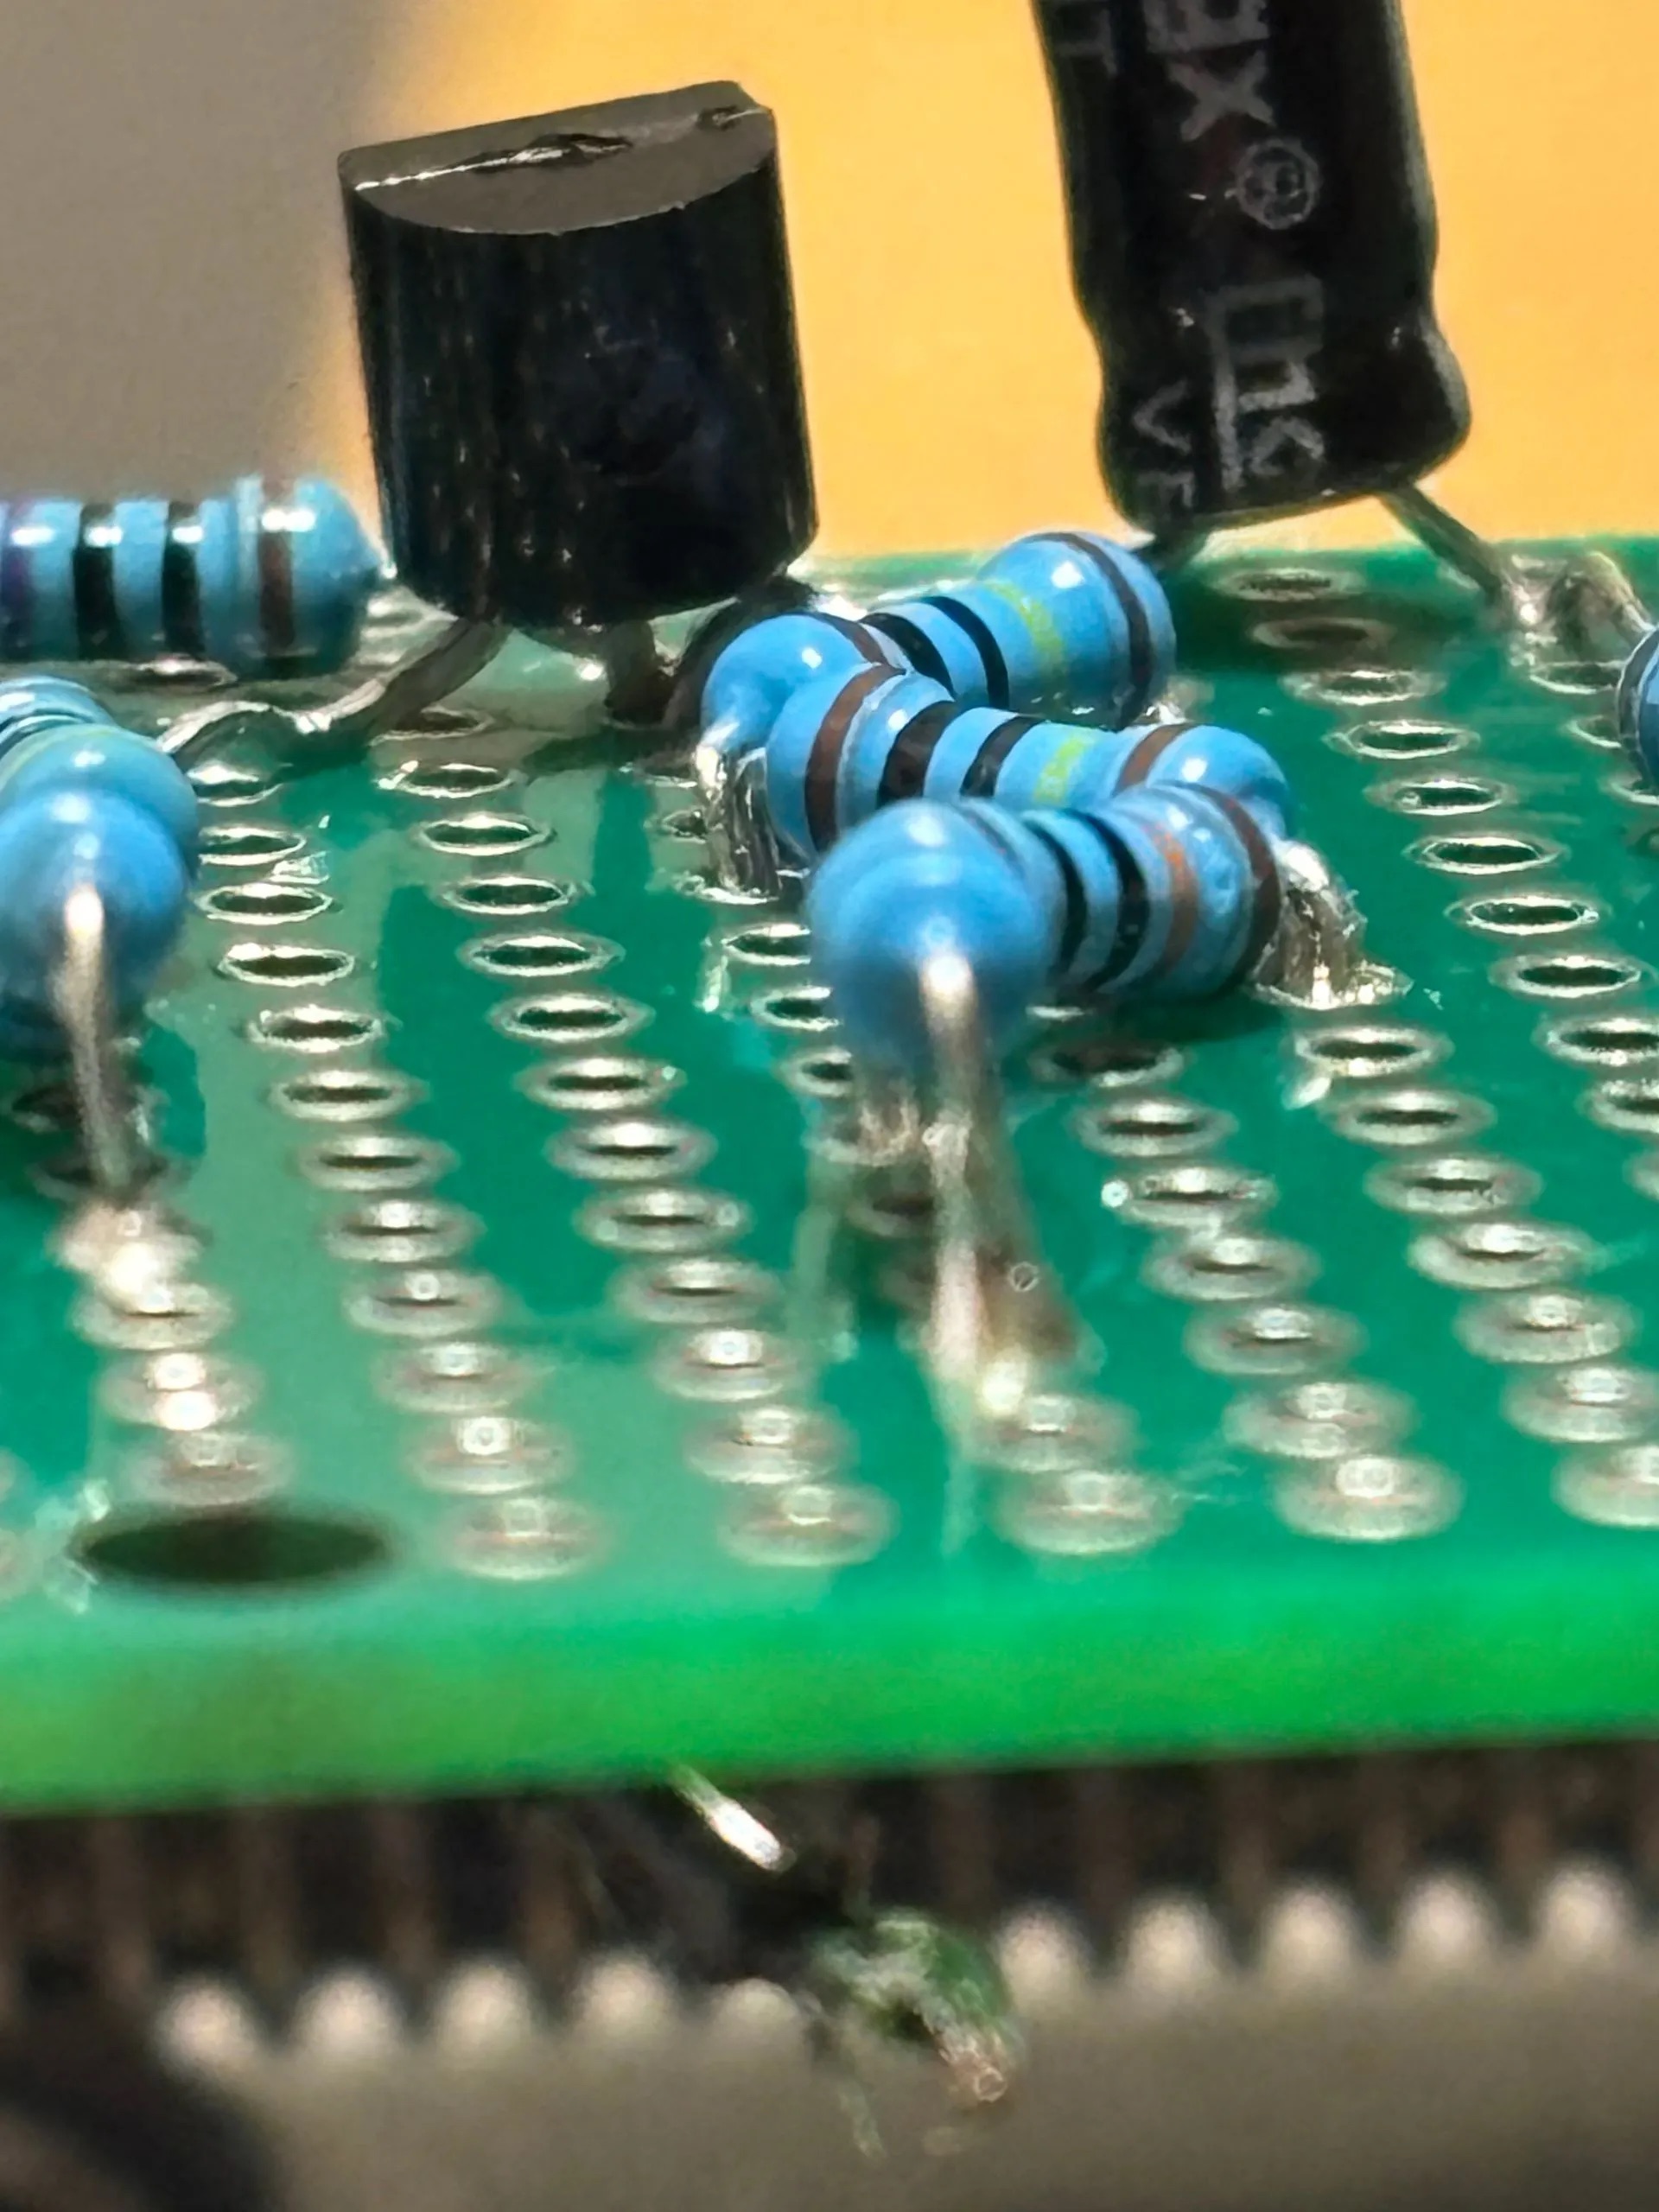
| Project Overview
💥 From Weak to WOW!
In this video, I show you how to take a basic contact mic and supercharge it using a simple DIY preamp—perfect for picking up subtle mechanical vibrations and textures.
📝 Update 26SEP26: The link to the original website was down but I found it in the internet archive. I have updated it in the description.
Disclaimer: the links are not shown properly yet, but you can find it under my website https://bastikuhz.com/projekt-workshop-23
🎧 What's Inside:
- • Introduction
- • Why a preamp makes a big difference
- • Step-by-step DIY build instructions
- • Sound test on a 3D printer – hear the vibrations clearly with and without the preamp
- • Tips for improving clarity, gain, and signal quality of a contact mic
🧠 Why the 3D printer?
I use a 3D printer as the test subject because it's full of mechanical motion and subtle vibration—an ideal playground for testing a contact mic upgrade.
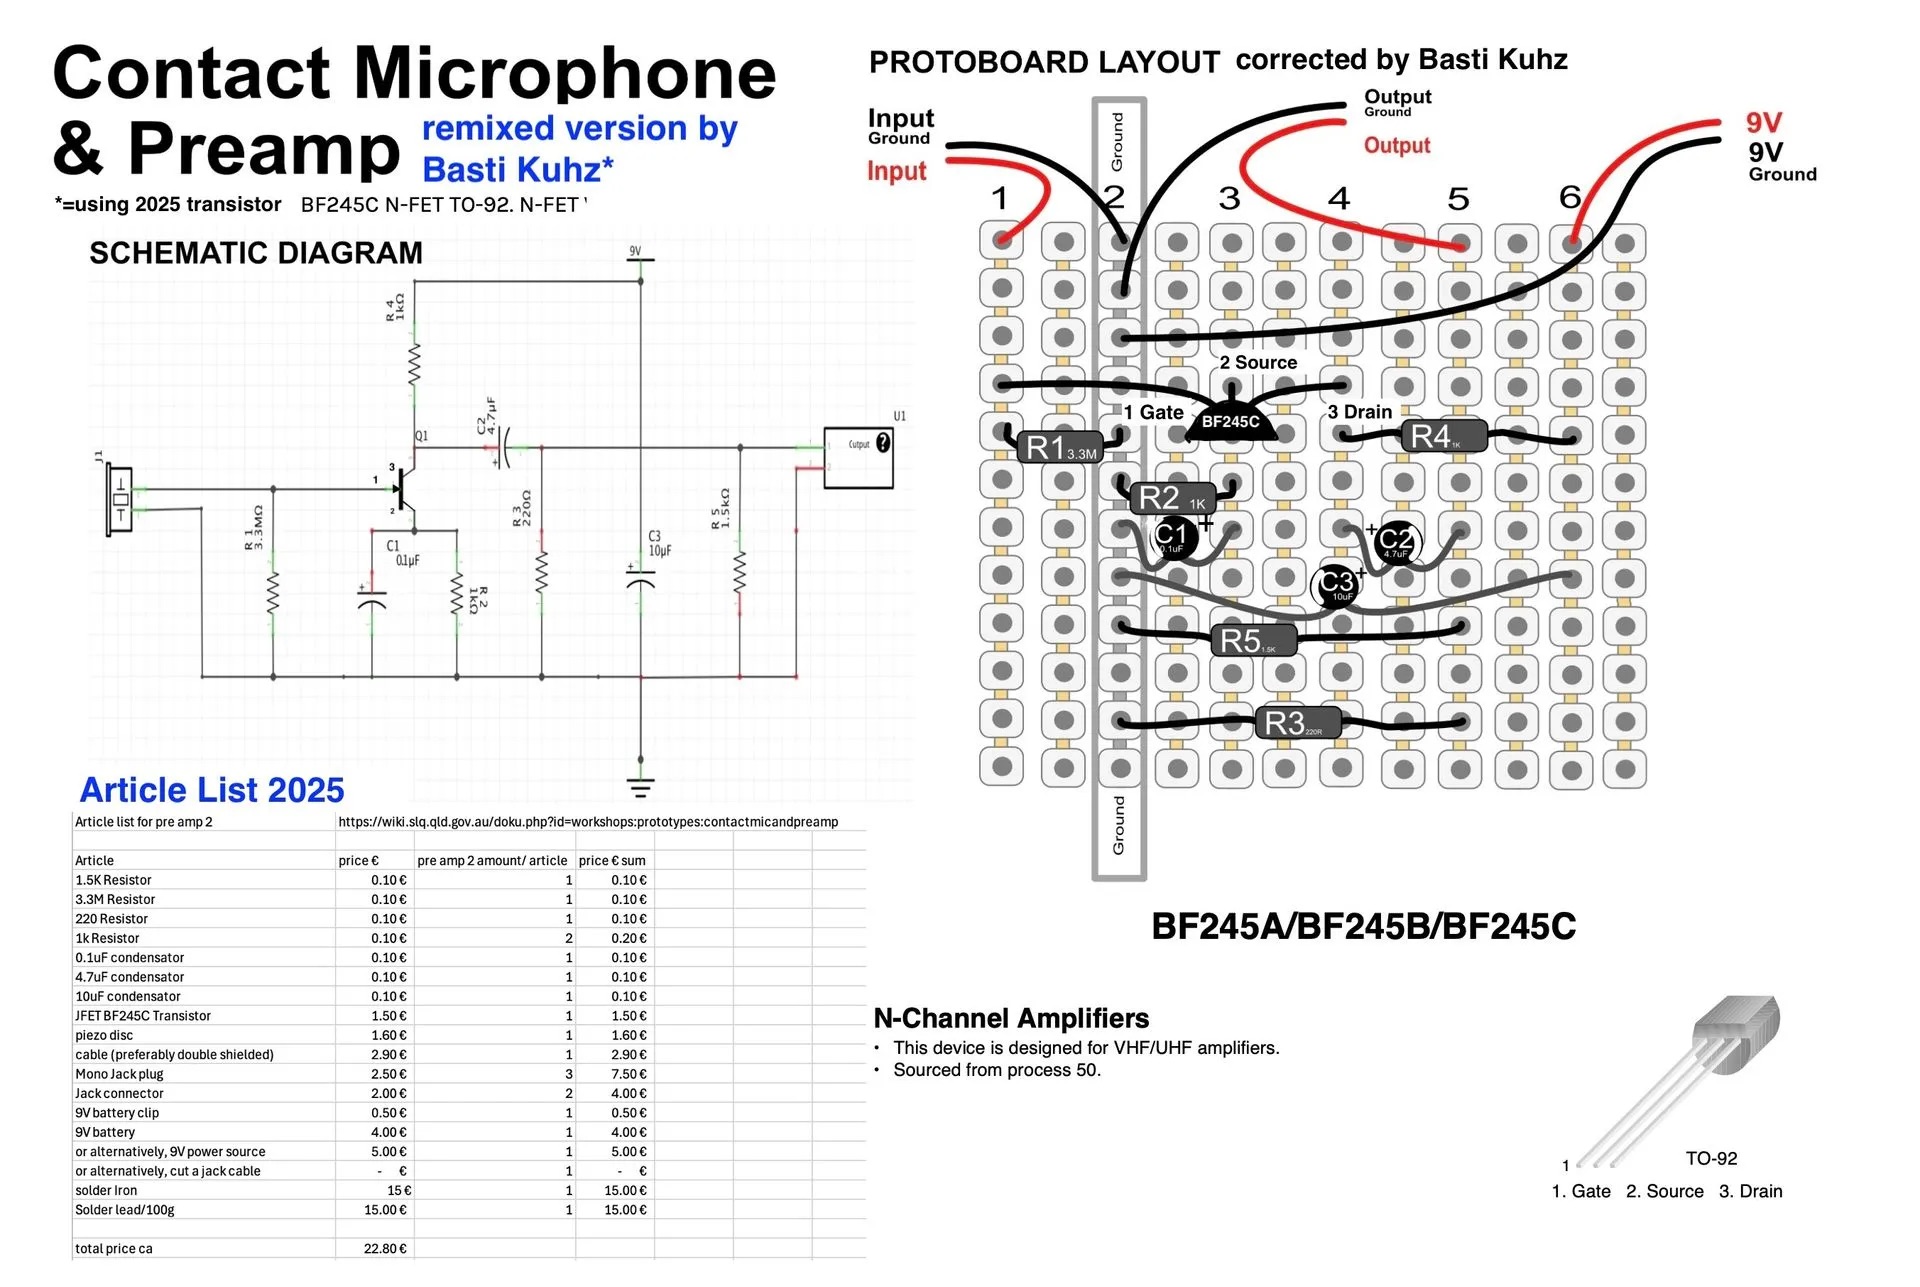
📃 Parts list & schematic:
- Original: Wayback Machine Archive
- Updated version with mistake correction: bastikuhz.com/projekt-workshop-23
🎓 Sources & Inspiration:
- • Build guide: wiki.slq.qld.gov.au
- Inspired by:
- • @metalmarshmallowllc
- • @MAKE
- • @psycheopera
🎤 Take your contact mic recordings from weak to WOW—with just a few components and a bit of soldering.
👍 Like, Comment, and Subscribe for more DIY audio hacks, lo-fi sound tools, and creative recording tips.
#ContactMic #DIYPreamplifier #3DPrinterSound #LoFiAudio #FromWeakToWOW #DIYAudio #FieldRecording #SoundDesign #electronicsdiy
| Extended Story
In the last 1.5 years, I have been using contact microphones and was already happy with the opportunity to listen to the world around me by simply placing a piezo element on a surface. Then, I did some research on how to improve the sound quality and quickly I found the YouTube videos of Metal Marshmallow who explained very in detail why to use a pre amp. On his channel, he shows DIY methods on making a contact microphone pre amplifier, however it is not completely DIY, because it includes buying his own ready made pre amplifier. So I thought, is there also a way to make one myself at home?
So, I looked further through the internet and found some instructions from Colins Lab - Maker Magazine and home-made circuits. Then I made this pre-amp and noticed an improvement. However, then I saw this video from Metal Marshmallow, in which he compares his pre amp with another pre-amp, which made me doubt the quality of the pre-amp I made from Colins Lab. Thus, I thought, I give it a try and do some research again on the internet and I found another design on the website of the State Library of Queensland, Australia. This website grabbed my attention because the article talked about the problem of noise and also giving a possible solution to it. Additionally, I had a beautiful Protoboard Layout picture which made it very easy for me as a beginner to wire and solder it together.
The only thing I noticed was a little mistake in the protoboard drawing and I had to use a different kind of Transistor, due to the availability of transistors in my local electronics shop (thank you SP electroniikka).
After soldering it, I immediately tested it and the result was stunning! I was so super impressed by the sounds I could get out of my 3D printer (on which I placed the contact microphones).
Update 26SEP26: For an even better sound I can recommend using a balanced cable (thus either XLR or stereo jack). I found this instruction to be helpful:
- sonigon.com - DIY Triangular Balanced Piezo Microphone
- instructables.com - Balanced piezo contact microphones
Note: I found the wiring diagram on Instructables a bit confusing, so go with the Sonigon guide for clarity.
| My Video
| Credits & Notes
- Artist: Basti Kuhz
- Year: 2025
- Type: Workshop
- Full documentation available upon request. For collaboration or licensing inquiries: bk@bastikuhz.com